
Vertical Training Tulsa: How to Measure Your Vertical Jump Progress
One of the most motivating parts of vertical training Tulsa programs is seeing your numbers go up. But how do you know if you’re actually improving?
Measuring your vertical jump regularly helps you track progress, adjust your workouts, and stay focused. Whether you’re working toward a dunk, spiking higher in volleyball, or just building explosive power, testing your vertical the right way is essential.
Why Measuring Vertical Jump Matters
You train hard. You sweat. You grind through plyometrics, strength work, and technique drills. But without proper tracking, you’re guessing instead of progressing.
Benefits of testing your vertical:
-
Identifies real progress
-
Helps set clear, achievable goals
-
Reveals performance plateaus
-
Motivates continued effort
-
Validates the effectiveness of your Tulsa training program
It’s not just about feeling more explosive—it’s about proving it.
When Should You Test?
Testing too often won’t give you accurate data. Give your body time to adapt before expecting measurable gains.
Ideal testing frequency:
-
Baseline test before beginning a vertical training program
-
Re-test every 4–6 weeks
-
Test after a rest day, not after a leg workout
-
Always warm up properly before jumping
Many vertical training Tulsa coaches schedule official testing days monthly to track team or athlete progress.
4 Proven Methods for Measuring Vertical Jump
1. Vertec Device
The Vertec is the gold standard for testing vertical jump. It uses movable vanes you tap at the peak of your jump to measure reach.
Pros:
-
High accuracy
-
Used by colleges and pro teams
-
Measures standing and approach jumps
Cons:
-
Expensive equipment
-
Requires setup and space
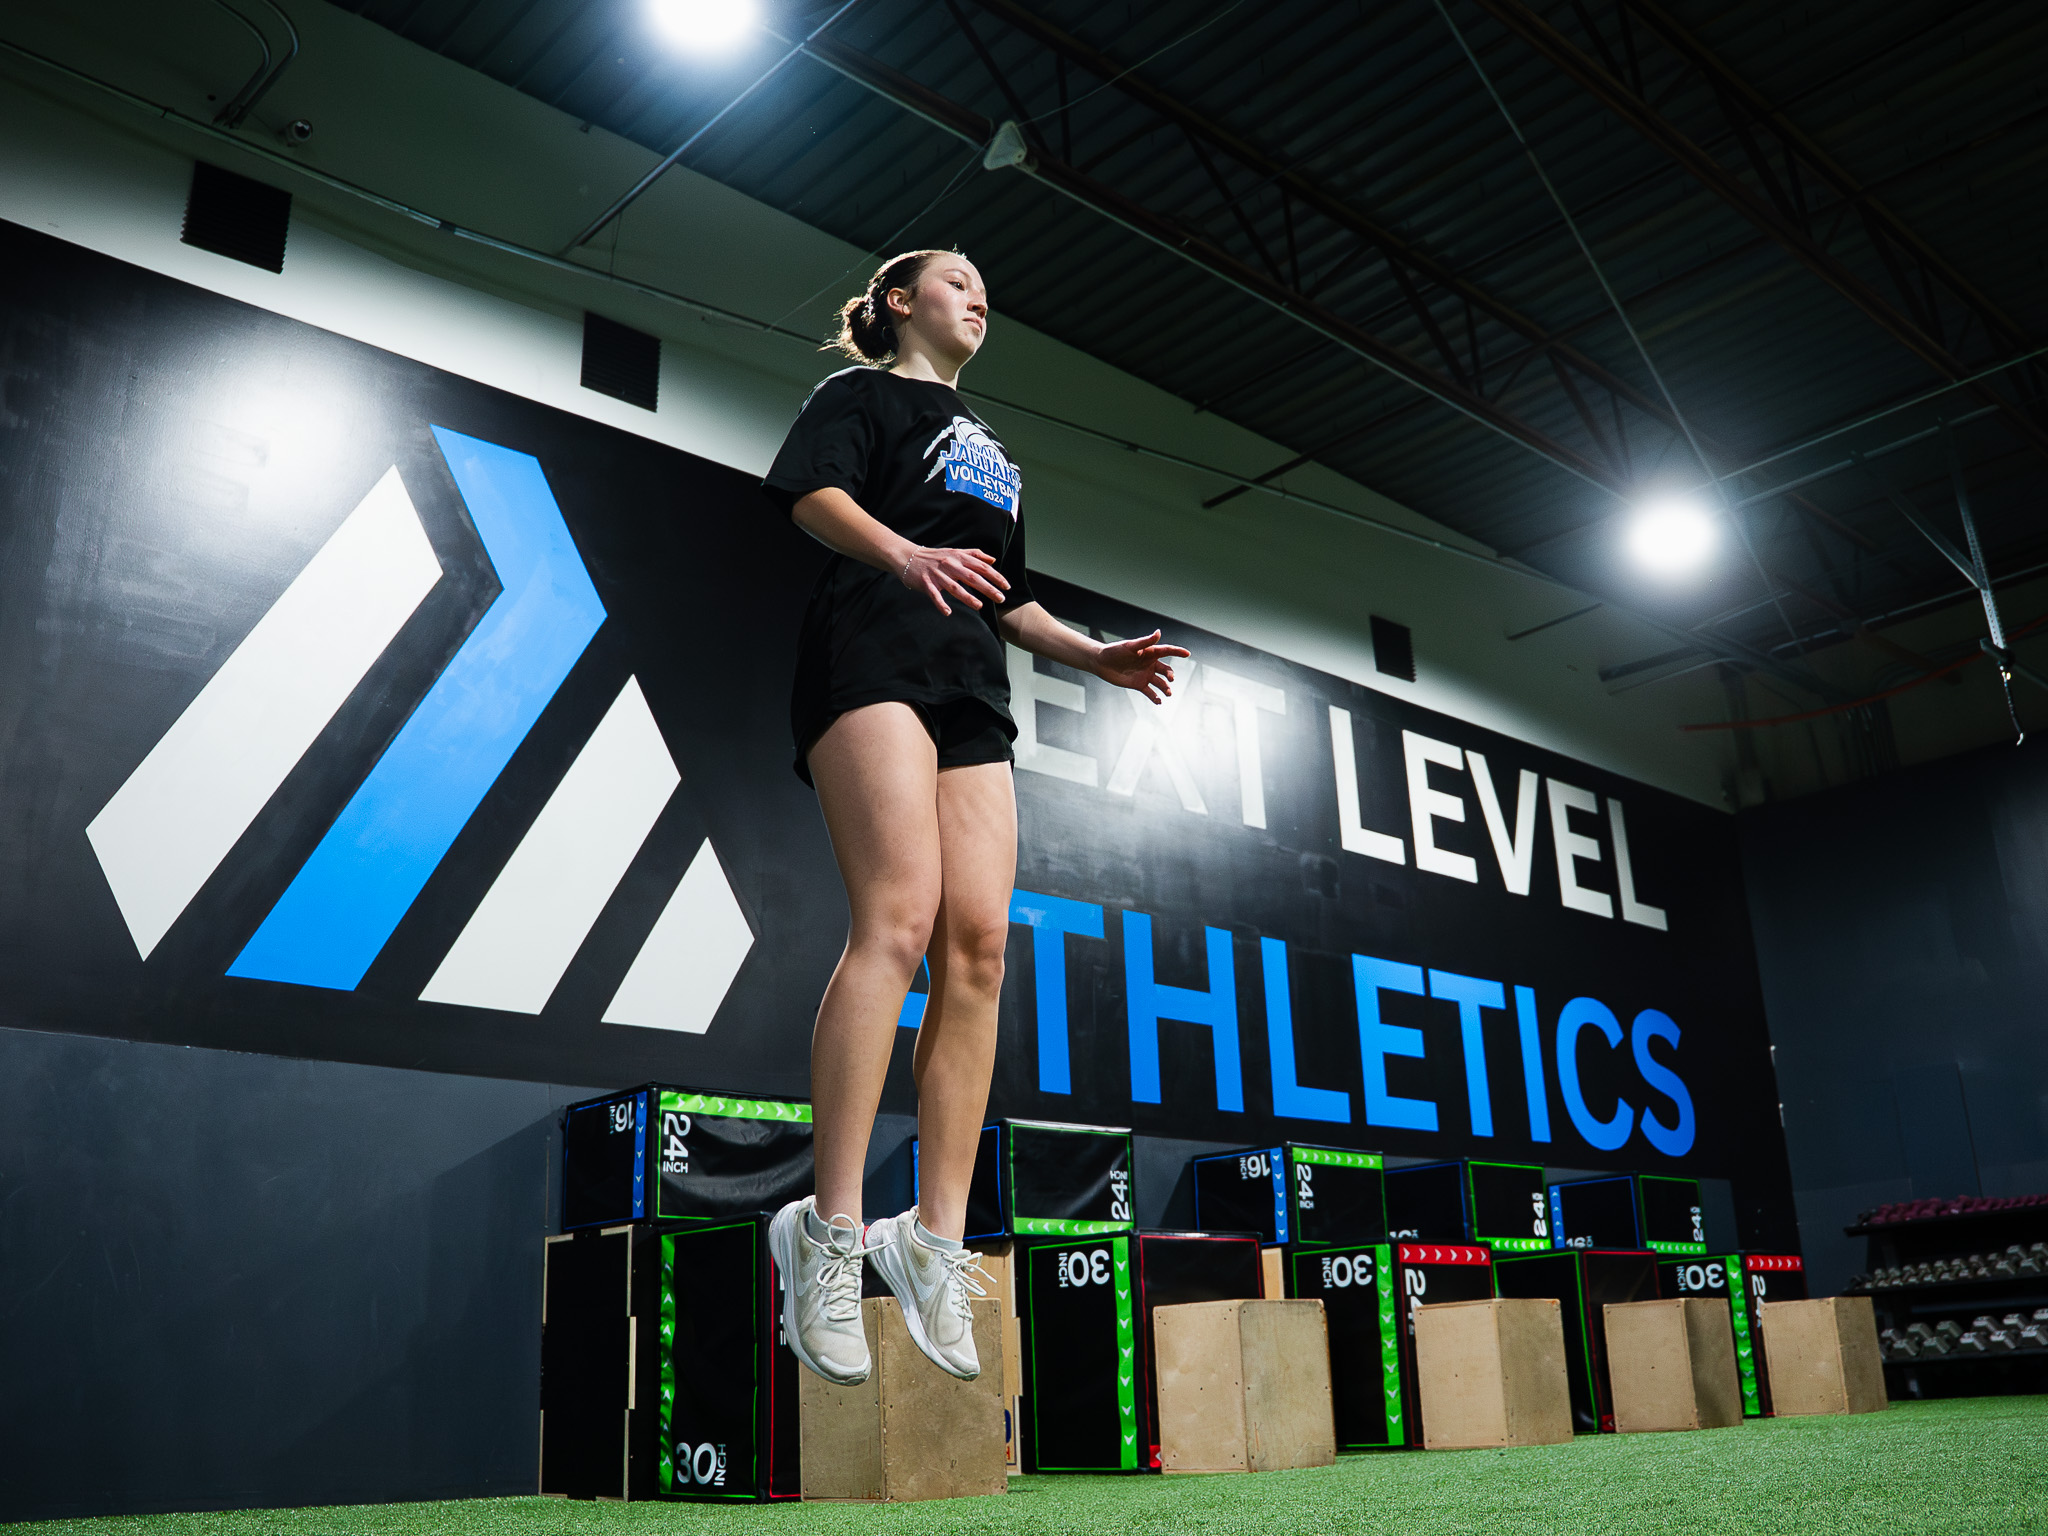
Most professional Tulsa vertical training centers have a Vertec available.
2. Chalk Wall Test
This classic test is great for at-home or gym use. You mark your standing reach on a wall, then jump and mark the highest point you touch with chalk on your fingers.
How to do it:
-
Stand side-on to the wall and reach as high as possible
-
Record your standing reach
-
Apply chalk to your fingertips
-
Jump as high as you can and touch the wall
-
Measure the difference
Tip: Do 3–5 jumps and record the highest.
3. Force Plate or Jump Mat
Some advanced gyms in Tulsa use force plates or electronic jump mats that measure jump height using ground reaction force or flight time.
Pros:
-
Extremely precise
-
Measures power output and rate of force development
-
Tracks improvements over time
Cons:
-
High cost
-
Usually only available in professional or collegiate facilities
If you’re training at Next Level Athletics Tulsa, ask about tech-based testing options.
4. Phone Apps & Video Analysis
Don’t have access to equipment? Use slow-motion video or apps like “My Jump 2” to estimate your vertical by timing your jump and calculating flight time.
Flight time formula:
Vertical jump height = (0.5 × g × (time/2)²), where g = 9.81 m/s²
Pros:
-
Easy to use
-
Affordable
-
Great for tracking casual progress
Cons:
-
Slightly less accurate
-
Requires consistent video angle and frame rate
Apps work best when combined with regular form review.
Standing vs. Approach Vertical: What’s the Difference?
Both versions of the vertical jump offer insight into your power and athleticism—but they measure slightly different skills.
Standing Vertical:
-
No steps or momentum
-
Pure measure of leg power and explosiveness
-
Great for tracking strength gains
Approach Vertical:
-
Includes a 2–3 step run-up
-
Reflects sport-specific movement like dunking or spiking
-
Tests coordination and timing too
Many vertical training Tulsa programs test both to create a full athlete profile.
How to Improve Your Scores
Once you know your vertical, the real fun begins—working to raise it.
Quick tips:
-
Focus on lower body strength (squats, deadlifts, lunges)
-
Add explosive training (box jumps, bounding, depth jumps)
-
Improve mobility (hip, ankle, hamstring flexibility)
-
Optimize landing mechanics to avoid injury
-
Dial in nutrition and recovery
Consistency with these elements can add 2–6+ inches to your vertical over time.
Mistakes to Avoid During Testing
❌ Testing Cold
Always warm up before max-effort jumps.
❌ Changing Testing Conditions
Stick to the same surface, shoes, and method each time for accurate results.
❌ Only Testing Once
Do 3–5 jumps and record your best. Outliers happen.
❌ Ignoring the Numbers
If your jump isn’t improving, your program may need adjusting.
Tracking keeps you honest and gives your Tulsa coaches data to optimize your workouts.
Building a Vertical Journal
Keeping a vertical training log can reveal patterns, identify what works best for your body, and keep you motivated.
Include:
-
Date of test
-
Type of test (Vertec, chalk, app)
-
Standing and approach vertical
-
Notes on how you felt
-
What you trained leading up to the test
Over time, you’ll see exactly how your hard work translates into jump height.
Final Thoughts: Numbers Don’t Lie
Jump training is one of the most satisfying forms of athletic development—especially when you have the proof to back it up.
Measuring your vertical is more than a test. It’s your scoreboard. And the best vertical training Tulsa programs make sure that scoreboard reflects real progress.
Whether you’re chasing inches for a scholarship, a highlight reel dunk, or just personal pride—test smart, train smarter, and celebrate every inch you earn.
Recent Comments